This article describes how to use the “Gallery Thumbnails” tool in Website Builder.
Adding gallery
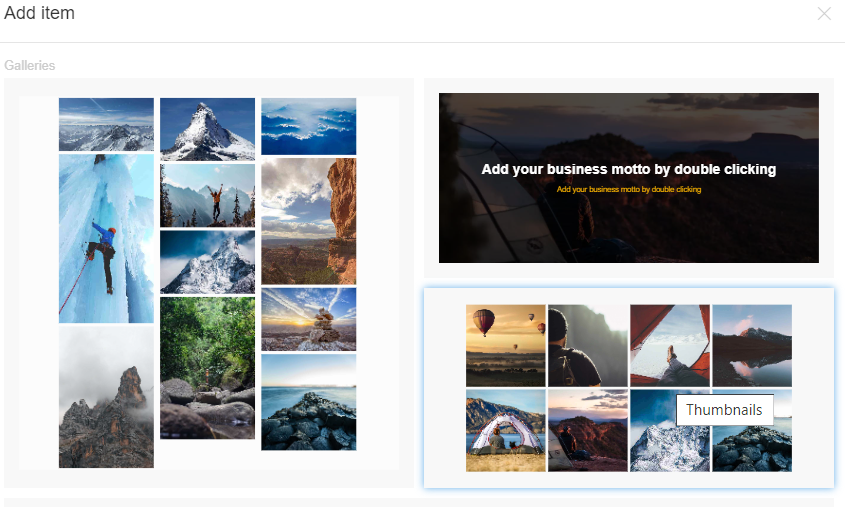
- Drag & drop “Gallery” from the main toolbar:

- Choose gallery composition. Website builder gallery types:
- Thumbnails;
- Masonry;
- Background,
- List;
- Map;
- Slideshow:
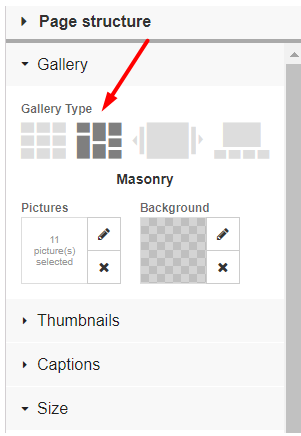
- You can change a Gallery type in the right toolbar:
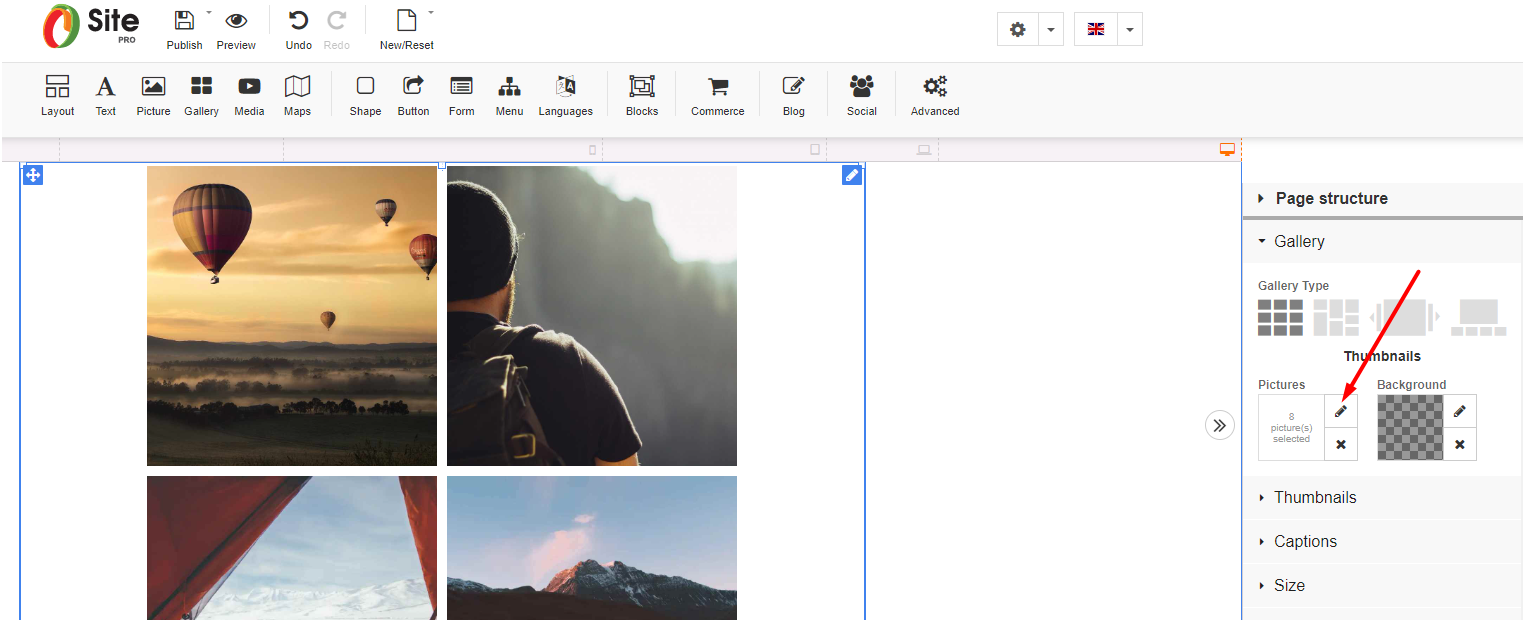
- Select the gallery and click the pictures editing button in the right toolbar:
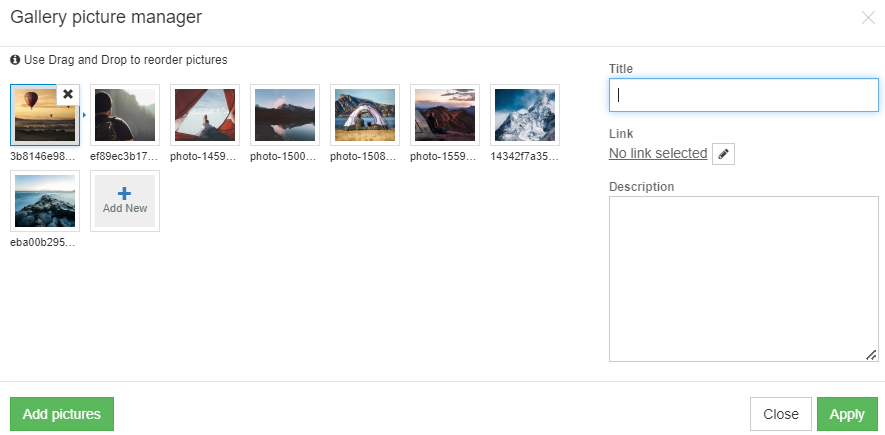
- Click “Add Pictures” to upload pictures. Add pictures titles, links, addresses, and descriptions:
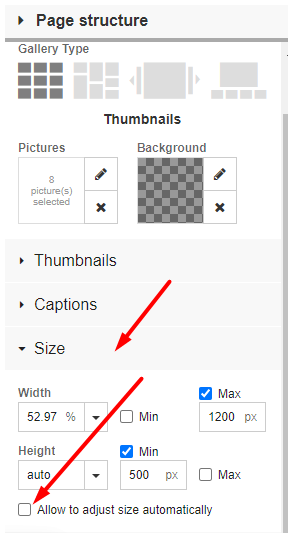
- Set gallery size or “Allow to adjust size automatically” in the right toolbar:
Customizing gallery
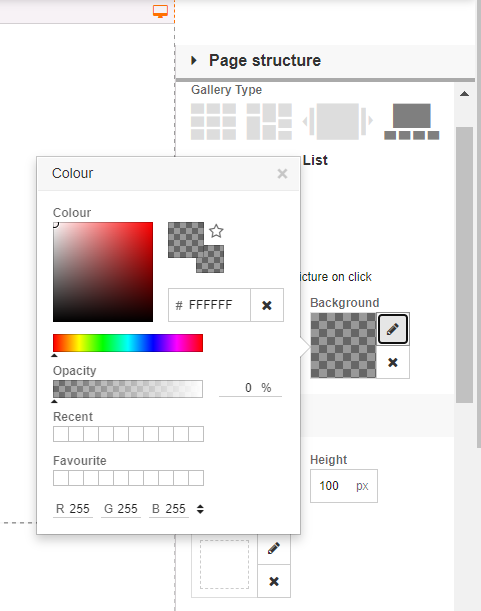
- Background: Select the gallery and click background to choose the background color/opacity in the right toolbar:
- Thumbnails: Write thumbnails width, height, padding, and border.
- Slideshow: Set picture change frequency and transition duration in the right toolbar.
- Captions: Set how to show picture caption, background color, and text style in the right toolbar.
Customizing “Gallery Map”
- Gallery pictures:
Click the pictures editing button in the right toolbar and add the picture’s title, link, address, and description.
If a picture has GPS coordinates data, a map will recognize the location automatically. - Google maps:
Specify “Map center” by writing coordinates, address, or setting marker, and write “API Key” to set map location in the right toolbar.
Customize the map’s zoom level, theme, map type, and marker type, and set other map options. - Captions: Set how to show picture caption, background color, and text style in the right toolbar.
Build your own free professional website with Beehosting Website Builder.


