This article provides instructions on how to clone an installation using Softaculous. You have the ability to test and experiment with upgrades or modifications prior to implementing them on your new installation. To serve this purpose, Softaculous offers the option to clone your installation. NOTE: The cloning feature is presently accessible for specific scripts; however, Softaculous is actively expanding this capability to encompass more scripts. NOTE: In case you’ve manually installed an application within your Beehosting account and aim to leverage Softaculous’s functionalities, you’ll need to import that application into Softaculous. For guidance on this process, consult the article How to Import WordPress or Apps into Softaculous.
Cloning an Installation with Softaculous
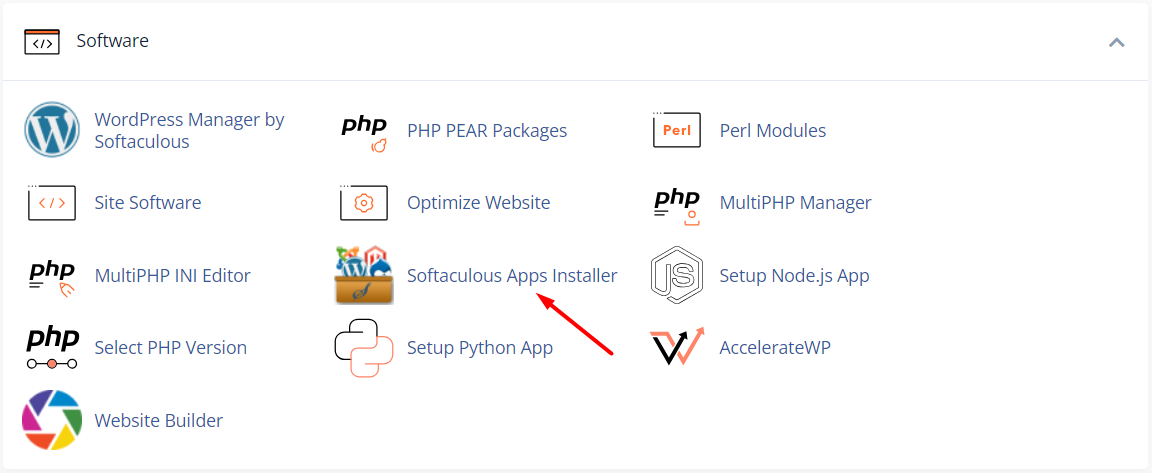
1. Login to cPanel. 2. In the Software section find and click Softaculous Apps Installer.

3. To view all installations click the Installations box.

4. Locate the installation you want to clone. 5. Click the Clone icon beside your website name.
![]()
6. On the following page, you’ll come across the clone installation information. Complete the required fields.

7. Select Installation URL: Your installation URL will be the web address where the cloned WordPress site can be accessed.
- Choose Domain: Choose the website name you want to clone.
- In Directory: Specify the directory name or location where the website files will be stored.
- Database Name: This field is pre-filled automatically. Alternatively, you can input your desired database name
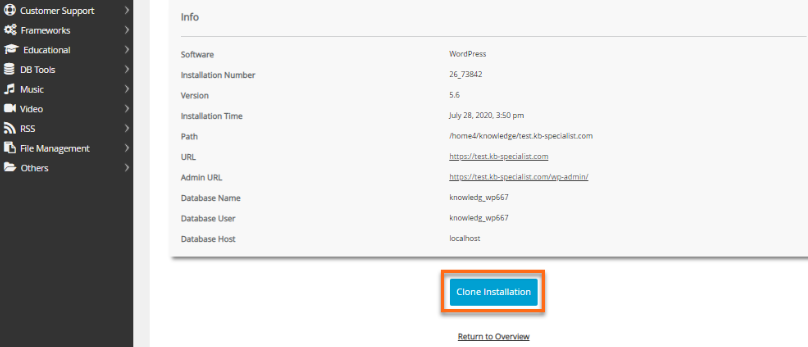
8. Click the Clone Installation button located at the bottom of the page. Please take into account the duration of the cloning process, as the speed is contingent on the size of the installation.

After the cloning process is completed, Softaculous will furnish you with the website and admin URLs, which you can utilize to access this duplicated installation.


