This article describes how to use the “Picture” tool in Website Builder.
Adding picture
- Drag & drop “Picture” from the main toolbar:

- Choose a picture composition and click on it:
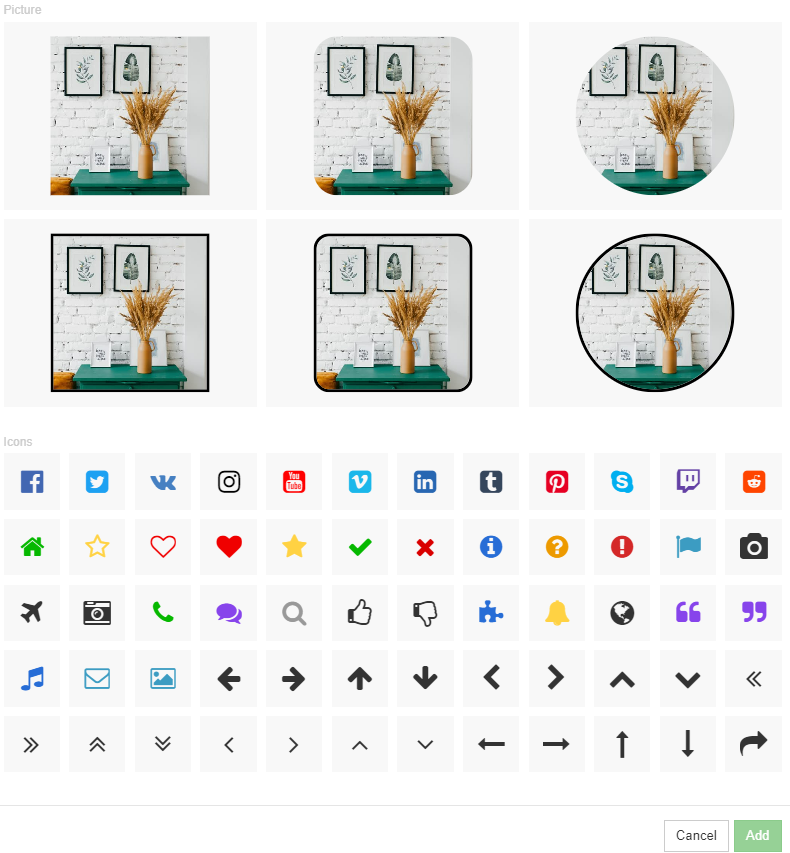
- In the window that appears select a picture from the free gallery or upload your picture:
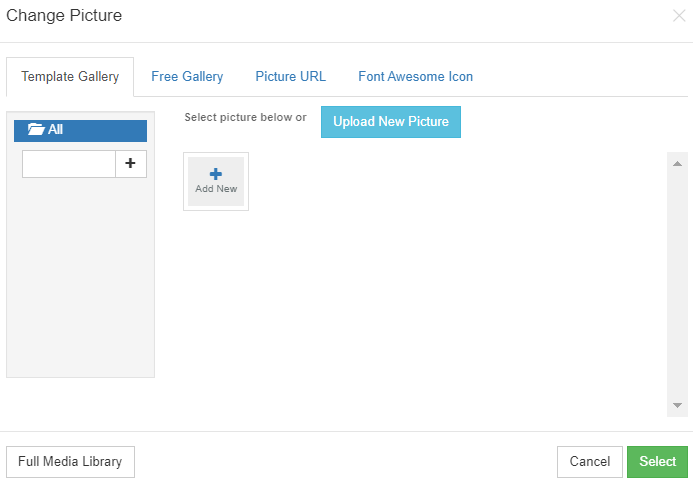
Editing picture
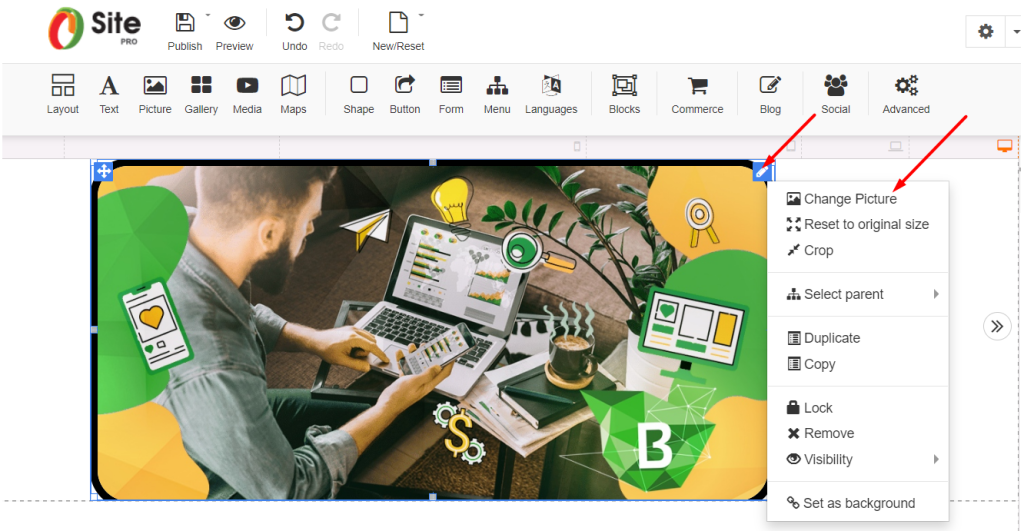
- Select a picture and click “Change Picture” on the context toolbar:
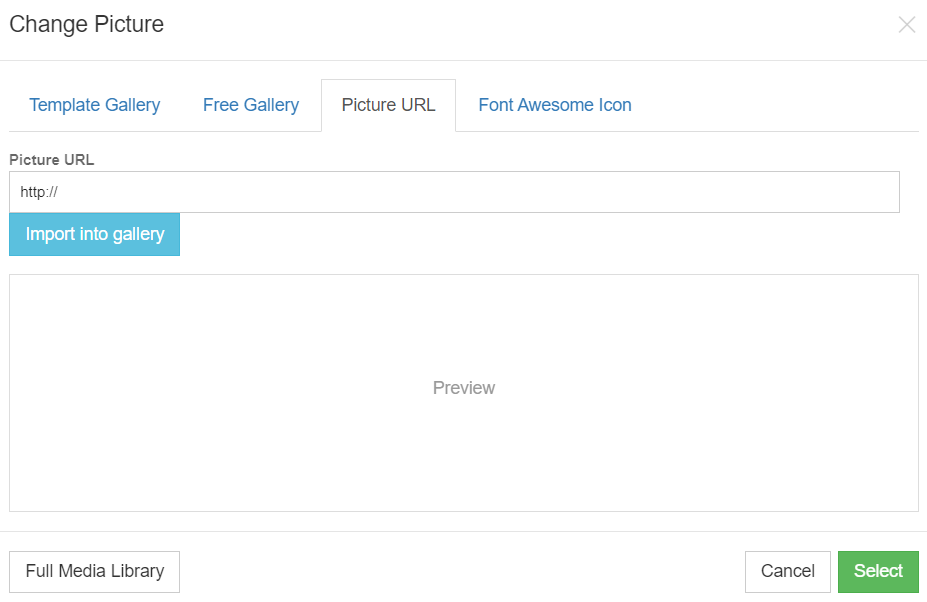
- Select media: Choose to upload a new picture, use the free gallery, and just type in what picture you need and click “Search”, write the picture URL and click “Import into gallery” or search in the “Font Awesome Icon” gallery and click the “Select” icon.
Customizing picture
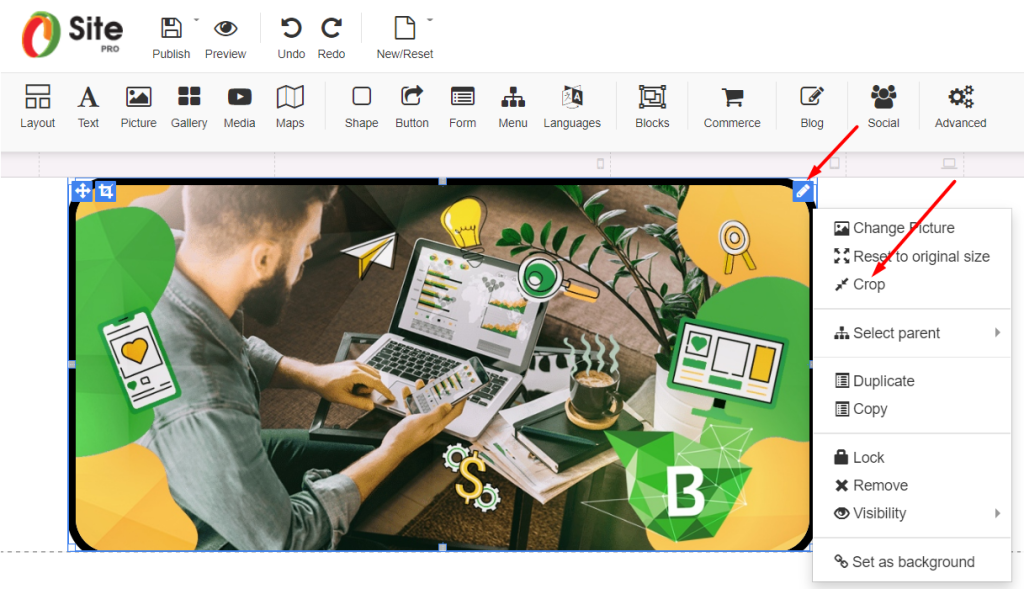
- Crop: Click the “crop” button on the picture and move/resize the orange cropping area to change a visible area of the photo and click the checkmark to save changes in the lower right corner.
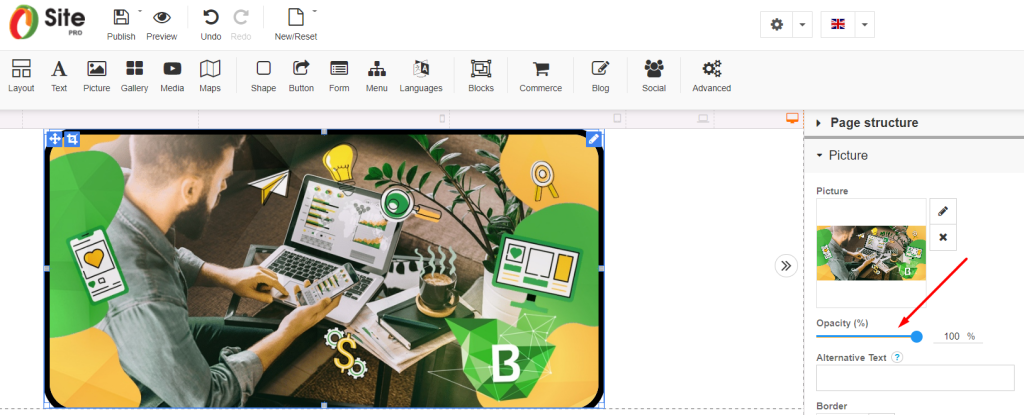
- Opacity: Adjust picture opacity in the right toolbar.
- Alternative text: Write “Information for an image if a user can not view it”.
- Border: Click the border in the right toolbar. Select the width, colour, and style for the border.
Also, you can select to have different borders and different corners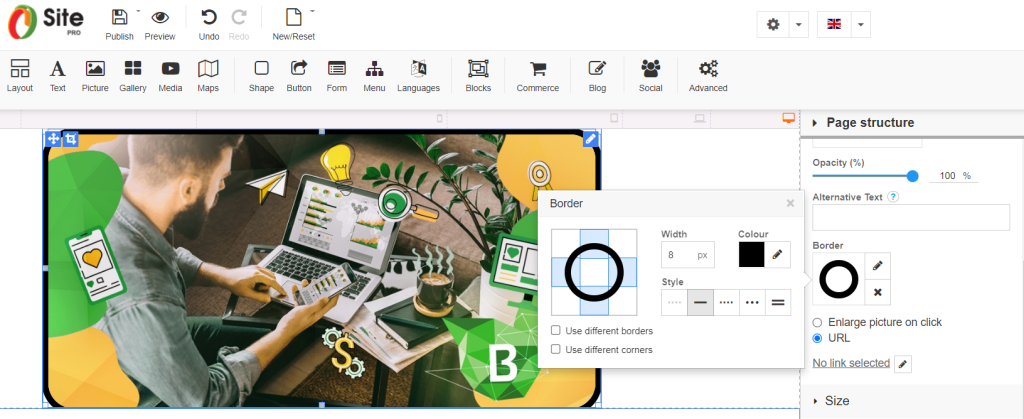
- Shadow: Click shadow in the right toolbar. Select distance, size, blur, colour, and style for shadow.
- On click management: Select a picture and click to “Enlarge picture on click” in the right toolbar or select URL and write link properties in a pop-up window.
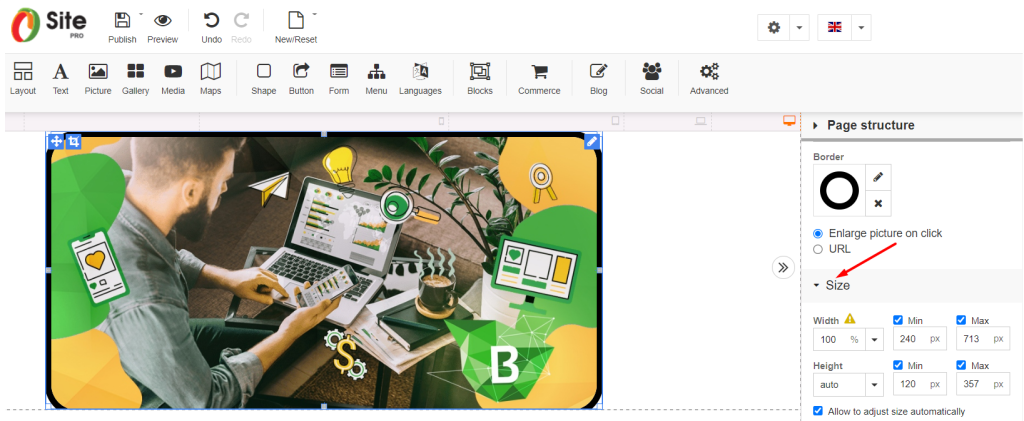
- Size: Adjust picture size or “Allow to adjust size automatically” in the right toolbar.
Build your own free professional website with Beehosting Website Builder.


